Follow these step-by-step installation instructions for the TILSBERK head-up display (variant B)
Installation variant B
Für diese Einbauvariante benötigst du:
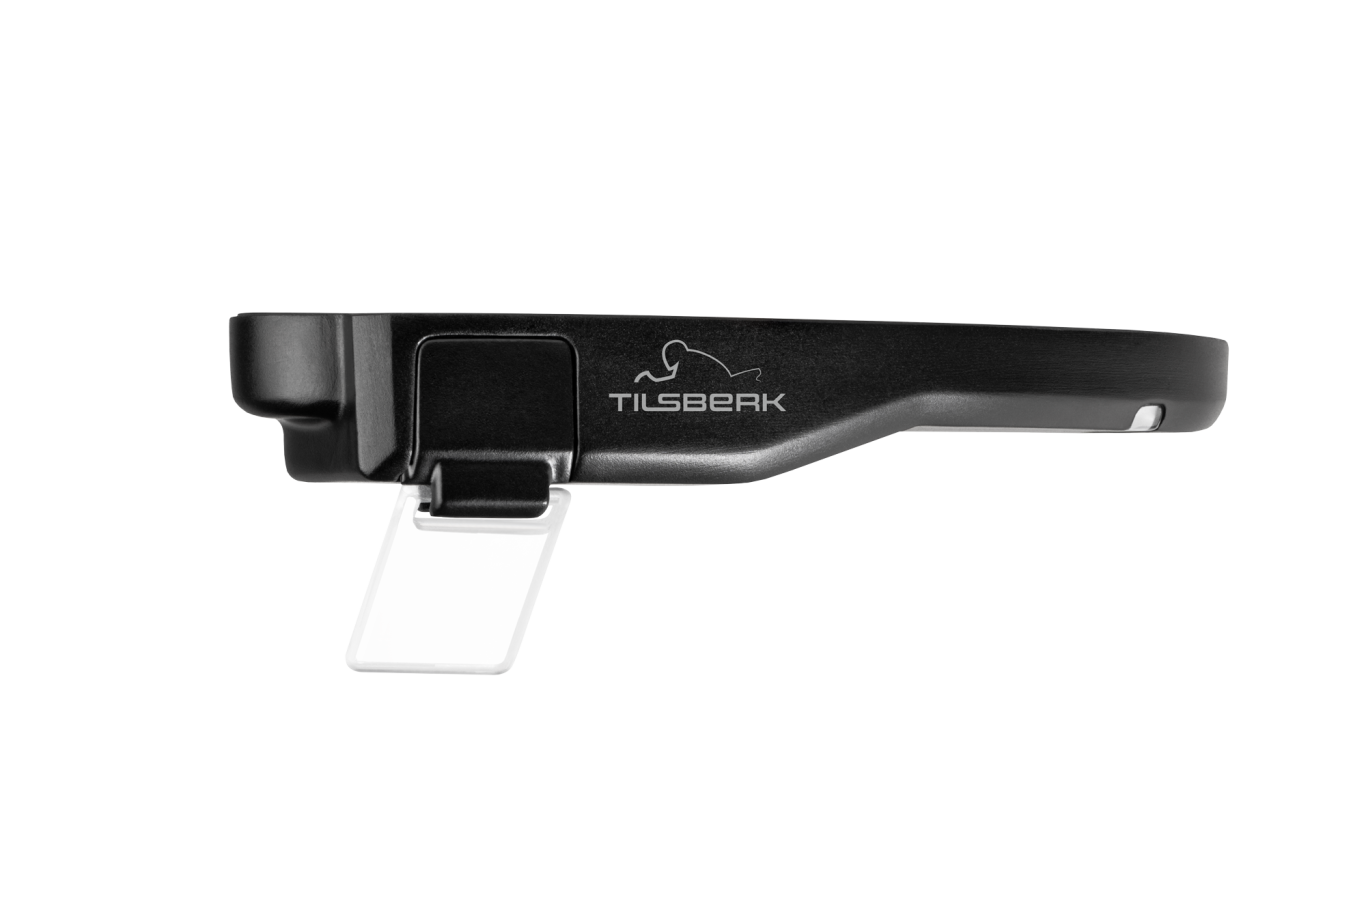
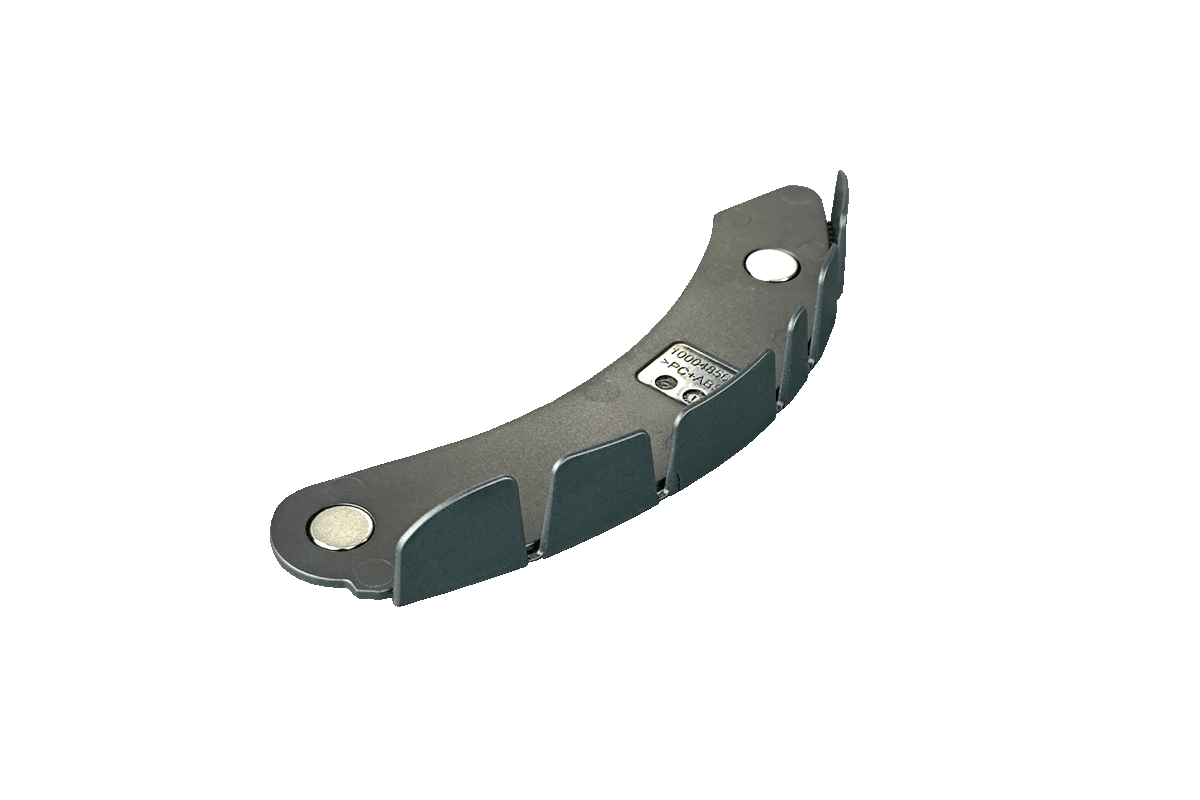
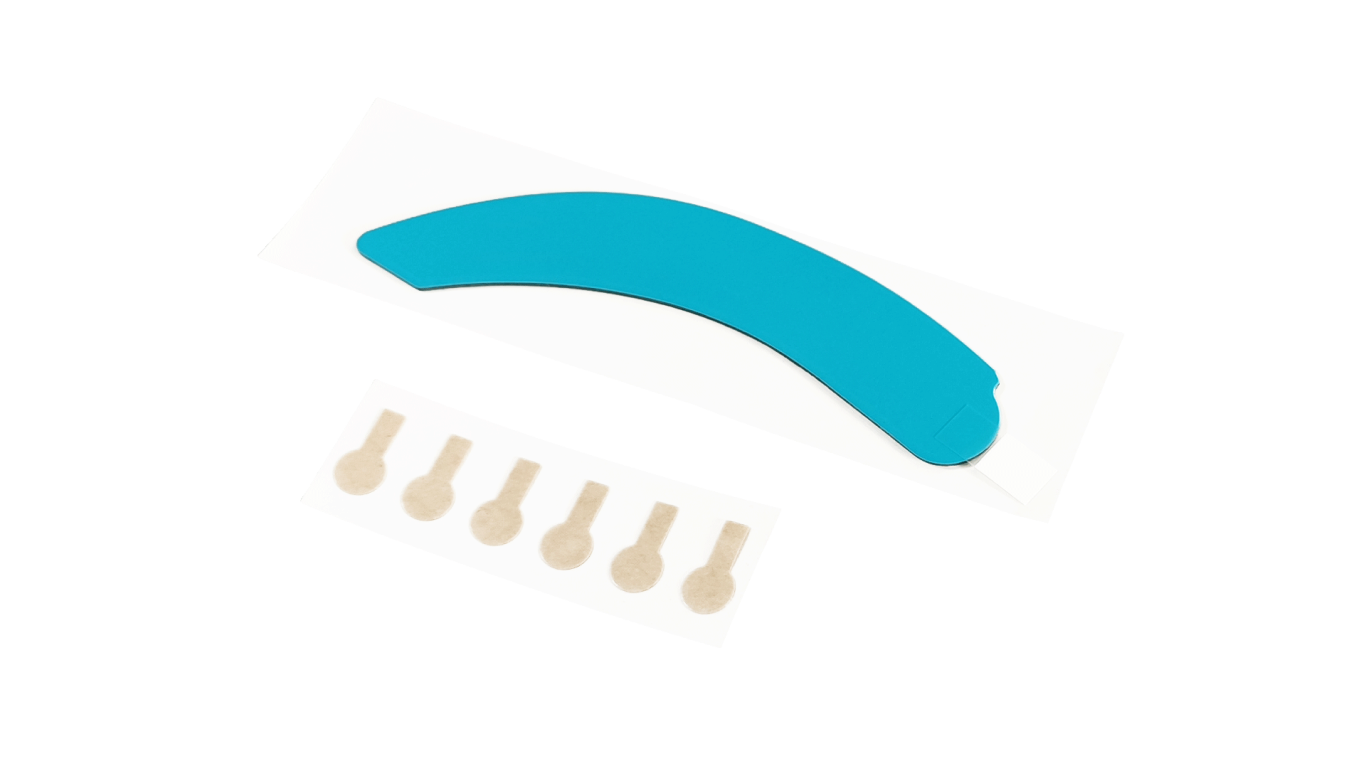
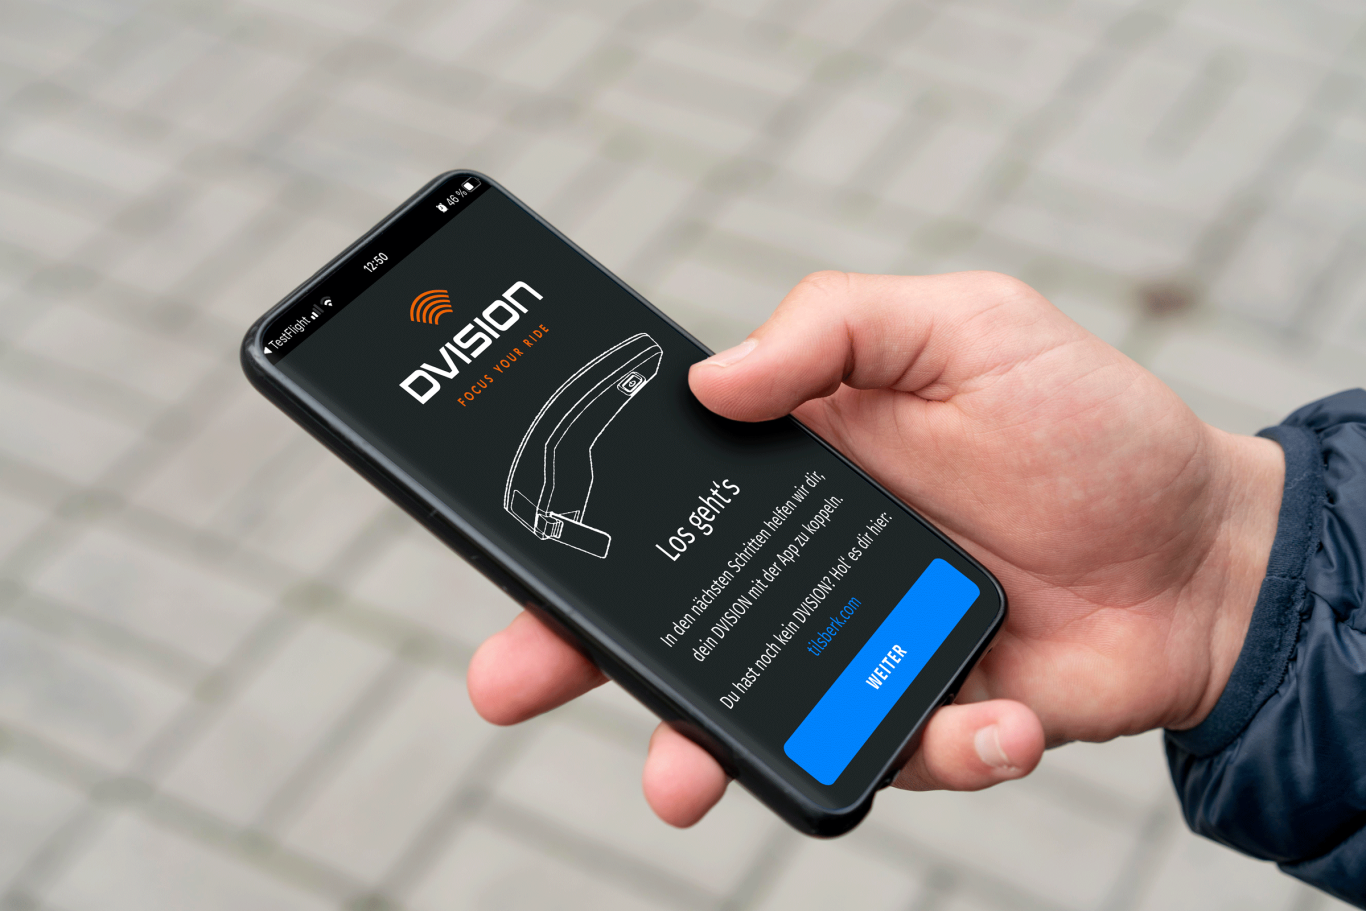
Installation variant B is often used for helmets with sun visors, which have a stretchable material on the mounting surface.
NOTE
For secure attachment, all adhesive surfaces must be clean, dry and free of dust and grease. Therefore, please clean all smooth surfaces thoroughly with an alcohol-based cleaner such as methylated spirit or rubbing alcohol before mounting. Adhesion is better on surfaces made of fabric - however, these surfaces should also be cleaned.
Step 1: Preparation
Before installation, test whether the helmet adapter with tabs collides with your sun visor. A slight collision is not a problem. In case of more severe interference, use another installation variant.
Step 2: Prepare helmet adapter
Apply the large adhesive pad to the side of the helmet adapter where the magnets are visible.
Then apply the small adhesive pads to the inside of the tabs.
Step 3: Glue in helmet adapter
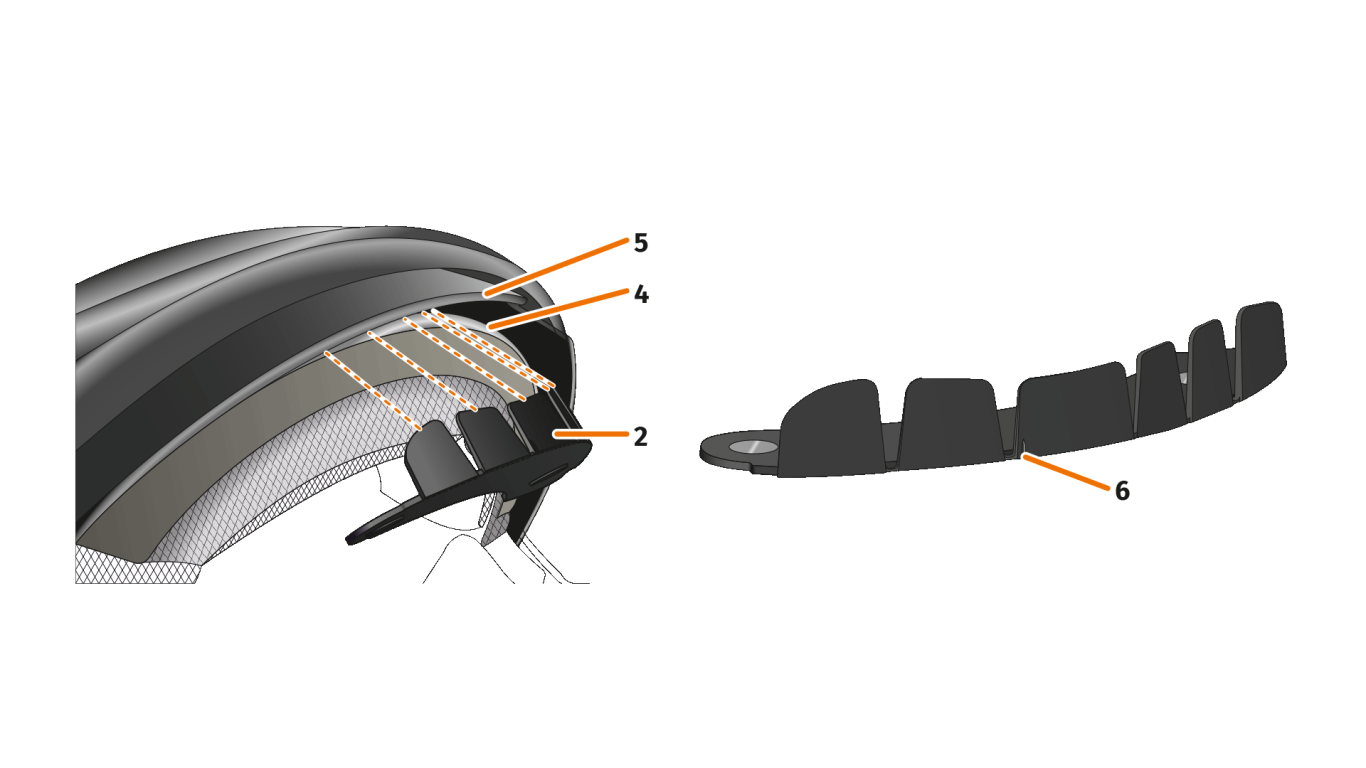
Place the helmet adapter (2) in the forehead area of the helmet between the inner shell (4) and the sun visor (5). At the front of the helmet adapter is a mark (6) that should be on an imaginary line between the center of the helmet and the center of your face. Make sure that the helmet adapter does not collide with the sun visor. Press the helmet adapter evenly onto the helmet with the adhesive pads.
INFO
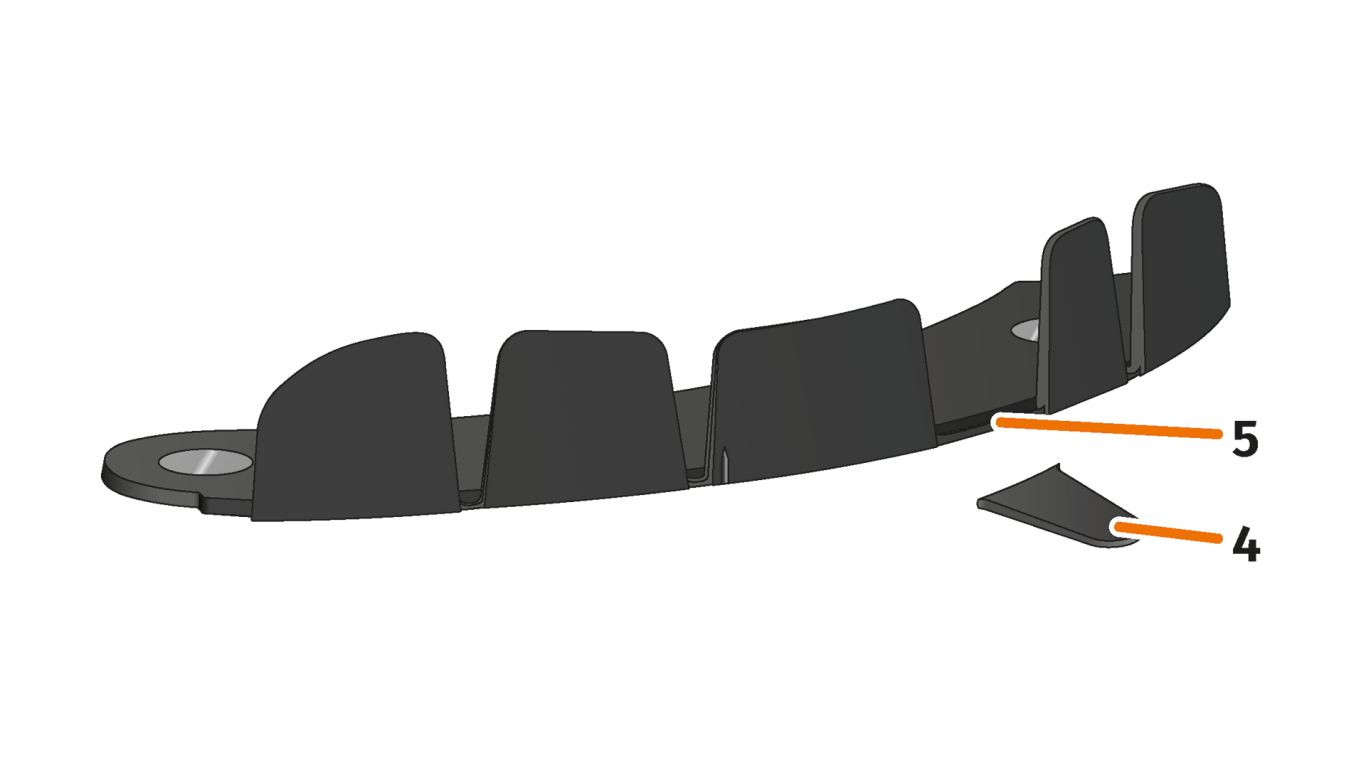
If you find that individual tabs collide with the material of the helmet, you can simply break away up to three tabs (4). The helmet adapter is perforated at the lower edge of the tabs (5) to facilitate breaking away.
Check whether the helmet adapter is correctly attached to the helmet. Attach the head-up display with the magnets to the helmet adapter. The head-up display must be completely attached to the helmet adapter without a visible gap in between.
Step 4: Check positioning
- Put on the helmet as usual.
- Attach the head-up display to the helmet adapter with the magnets and fold the display down at a 45° angle.
- The display should be clearly visible in front of your right eye.
- Press the control button on the head-up display to switch on the device. A message will appear on the display.
- Check if you can see all the information on the display without changing the position of the helmet on your head. To do this, look ahead as if you were in traffic:
- The display should be clearly visible in front of your right eye.
- The display should be sharp and easy to read.
- The display should be completely in your field of vision. The frame serves as orientation when switching on the head-up display.
- If the display is blurred or not well readable, you can slightly change the angle of the display.
INFO
You can show the frame for orientation during alignment at any time. Activate the "Alignment Mode" in the TILSBERK App menu "Settings".

Done! You can now place your head-up display on the helmet adapter or remove it within a few seconds. In your TILSBERK app you will now be guided through the next steps.